Have you ever been walking over to get the ultrasound machine for the 3rd US-guided PIV and hit yourself in the head saying “why don’t I just do a midline? I know they’re going to need pressors anyway…”. If this hasn’t happened to you yet, it will! And when it’s come to that point where you’re reaching for that central line, consider that it might be quicker, easier, and better for the patient to do a midline. If nothing else, we’ve all been asked by an inpatient team to please place a midline (sometimes indicated, other times from our perspective maybe not - but that's a point for later).
I used to get annoyed feeling like I wasn’t getting my central line experience in residency. However, when I think about it from a patient perspective, and all the benefits of a midline, I’m now very happy to do them and in the cases in which a trialysis (now dialysis) or triple lumen aren’t truly required, I opt for a double lumen midline instead. BUT… we need to ensure we place them properly or we could get in big trouble!
Here are a few good things about midlines:
If you can put in an ultrasound-guided peripheral IV and you are familiar with seldinger technique, you can place a midline
They’re pretty quick
They’re not technically a central line (but they can become one if you’re not careful! More on this later…)
They have lower infection risk than central lines
They have longer dwell-time than PIVs and CVCs
They’re more comfortable for your patient
You should of course get verbal consent, but technically in our hospital, written consent is not required for midline placement (of course if your attending wants you to get written consent, you should, it’s never a bad idea)
You don’t need a confirmatory xray
How to place a midline:
I’m not going to go into great detail here, as the setup is exceedingly similar to CVC placement, but I do want to highlight some important differences and some tricks.
Verbally consent your patient and explain what to expect
Gather supplies - midline kit, sterile probe cover, 2 hep-locks (blue cap things at the end of IV connection tubing), chlorhexidine, extra sterile flushes if needed, sterile gown, sterile gloves, ultrasound, roll of tape, mayo stand with chucks/towel
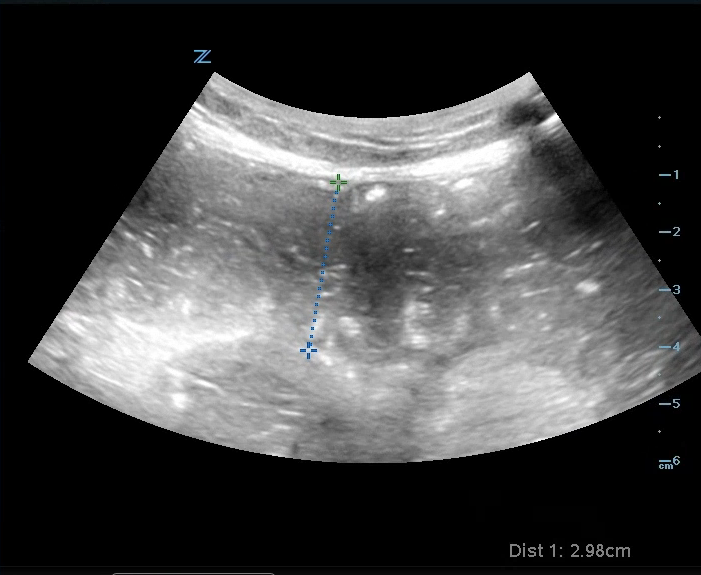
Locate the vessel of interest with ultrasound and take a clip or image for documentation purposes
Open your kit and drop extra pieces in a sterile manner onto your sterile field
One of the things included in this kit is a paper tape measurer - you may have wondered before “why is this silly piece of paper here?” well, here’s why… midlines are intended to have the catheter tip end in the axilla NOT cavo-atrial junction (where the SVC and RA meet). If a midline doesn’t terminate at the appropriate spot and instead goes into the heart, you’ve now inserted a central line without the patient’s consent (YIKES!)
Sterile prep the insertion site
Sterile dress yourself (and yes! This should be done under full sterile practice!)
Prep your kit - I recommend putting 1 heplock on the primary lumen and the 2nd on one of the sterile flushes. I also recommend setting out all your pieces in the order that you will perform the steps in a clear manner so you can do it efficiently. NOW, using the measurement you got from that paper tape measure, you must TRIM THE CATHETER (louder for the people in the back!... TRIM ITTTTTTT!!!) to the length of the termination in the axilla using the cute little guillotine device provided. You may have to do it a couple times because there is a wire to cut too.
Administer lidocaine
Using seldinger technique and under ultrasound guidance, proceed with the steps ending in catheter insertion, ensure guidewire removal, ensure it pulls back with good blood return and easy flushing
Properly dispose of sharps
Keep for yourself or gift the cute pink and white candy stripe masks :)
pro-tip: with sharpie, write the date of insertion - it's kind of like signing a work of art. You are the *Michelangelo of Midlines* (feel free to throw that around at your next party)
Here is a photo of the contents of a kit + extra things you’ll need. The little guillotine guy is the blue thing that looks vaguely like a chip clip in the middle.
TLDR: Midlines are great, easy, effective and better tolerated. They are also illegal central lines unless you properly trim them to have catheter termination at the axilla.
Happy trimming my fellow Midline Michelangelos!
Kat