Welcome to one-of-maybe-more series of pearls based off my pet peeves.
Tim’s Pet Peeves Pearls
Magnificent.
Anyways as many of our residents know, central lines placed in the emergency department are frequently changed shortly after transfer to the ICU out of concern that lines were not placed under sterile technique. Not an ideal situation, as repeat catheter placement results in additional risk and discomfort to the patient.
A year ago I asked one of our (now graduated) ICU fellows about this practice, and he mentioned that when he sees an improperly dressed central line (e.g. dressing partially falling off, not completely sealed), he feels obligated to change the line as it seems less clear whether or not that line was placed under sterile technique and has remained sterile.
While lines may still be exchanged regardless once patients have left our care, we should learn how to best dress and maintain sterility on our central lines. Let’s prevent those catheter-related bloodstream infections!
The lesson today was taught to me a couple years ago by our fabulous resus nurse Minh Duong.
How to Dress a Central Line
Huzzah, you nailed your central line. Fantastic! Sutured down and everything. Now while you still have your sterile gown and mask on, you open your central line dressing kit. Inside you see a dressing, chlorhexidine swabs, barrier film, and extra PPE.

1. Use your chlorhexidine swabs and clean from inside to outside along the length of the catheter. Clean the line itself!

2. Flip the swab and go back and forth over the surrounding skin.

3. Repeat with the remaining swabs (there are multiple swabs in the kit)
4. Allow the site to dry. No need to fan or blow on the site.

5. Take your Sureprep Protective Wipe and draw a rectangle around the catheter site. The dressing will not stick well to the chlorhexidine, but will stick well to the SurePrep barrier film. This is important to make sure the dressing seals properly.

6. Place the dressing over the catheter so that the chlorhexidine-impregnated gel layer overlies the entrance of the catheter into the skin. Important for preventing those catheter infections!
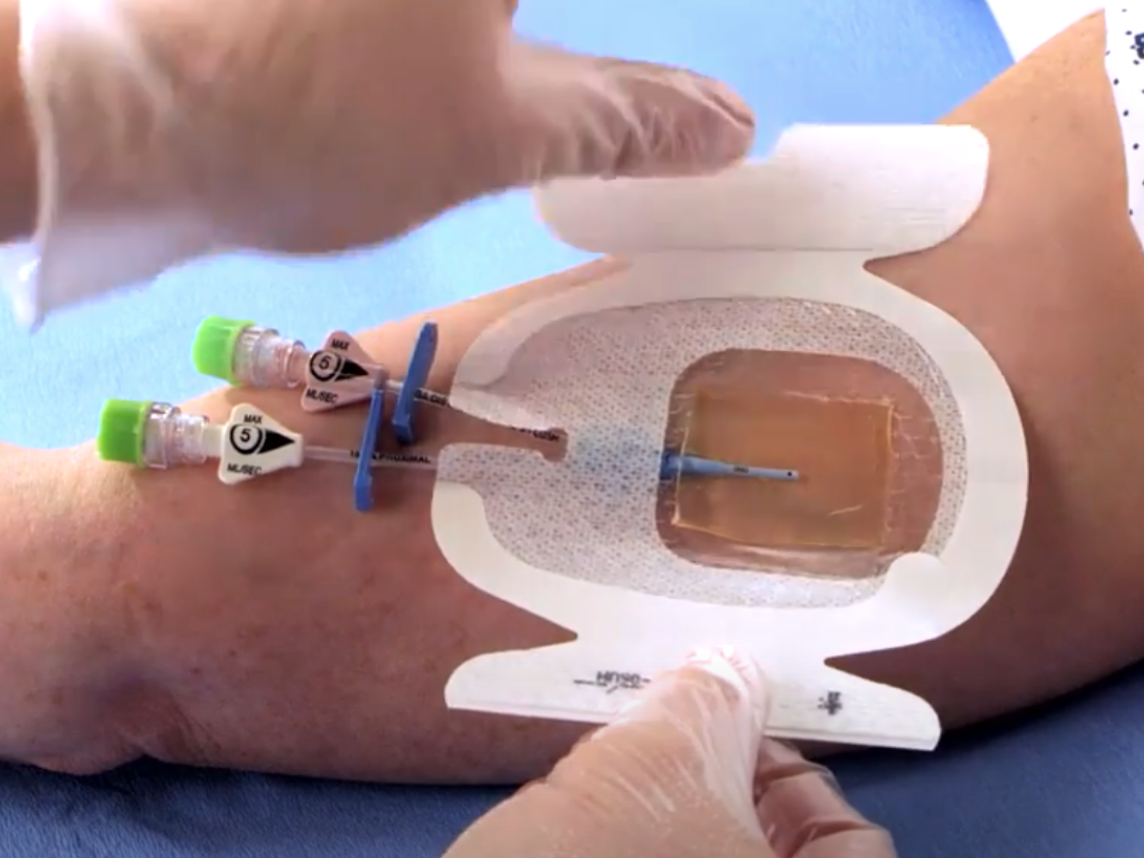
7. Remove the sides of the dressing and press firmly along the sides to ensure that the dressing lies flat along the skin. For IJs, this often requires pulling a small amount of tension along the skin to have the dressing lay flush against the skin along the curves of the neck.

8. Take the next largest piece of the dressing (from the wings of the initial piece) and place it UNDER the catheter but OVER the dressing to create a closed loop around the catheter. Press firmly so the dressing lies flush against the skin.

9. Take the final thin piece of dressing from the remaining wing and apply it overtop the area where the catheter exits the dressing. Label the final piece with the current date.

If applied properly you now have a sealed dressing around a CVC. Do this properly, take a little extra time and your nurses and ICU will love you. Congrats!
Sources
https://www.youtube.com/watch?v=BVZq4WgfzQ4
https://www.youtube.com/watch?v=aMxahVmCR2E
https://www.youtube.com/watch?v=DGL8CzKTgVo